

A flawless and long-lasting exterior paint job hinges not on the paint itself, but on meticulous wall preparation that begins long before the first brush stroke. The secret lies in proper wall preparation, which is crucial for ensuring even adhesion, optimal weather resistance, and enduring vibrancy. Mastering the right sequence of surface preparation steps can significantly impact the final result. Before you get ready to paint the exterior of your home, you should know why proper surface preparation is a vital part of the painting process. The condition of your walls can seriously influence the paint’s finish, effective adhesion and even long-term durability. An inadequately prepared surface gives rise to premature cracks, unsightly peeling, or problematic bubbling sooner than you might expect and results in frequent repainting and substantially higher expenses than initially estimated.
How To Prepare Walls for Exterior Painting
- Inspection and planning
Before any cleaning or scraping begins, the first task is a careful pre-paint assessment of the home’s facade. Search out obvious signs of damage like fissures, chalkiness, damp patches, algae, or loose plaster. These are not simply superficial issues; they can compromise the durability of your new paint job. Identify structural cracks that might need fillers or sealants. Check for areas of moisture intrusion or efflorescence (white salt deposits), which often signal internal dampness. Observe sections exposed to direct sunlight or rain, as they’ll need extra protective coatings or possibly specialized primers. This detailed inspection helps you decide the necessary repair materials and coatings, such as waterproof primers, sealers and anti-fungal treatments or anti-mildew solutions. Ignoring apparently minor imperfections like small holes or rough patches is a blunder; paint only worsens them into major eyesores. Proper preparation means addressing these delicate faults and producing an even substrate to deliver a final finish that is perfectly uniform and unblemished.
2. Cleaning and removing old paint
Exterior walls accumulate dust, grime, soot, biological growth, and loose paint flakes over time, that hinder proper adhesion. Thorough cleaning is therefore essential before painting. For most walls, the procedure typically begins with pressure washing using fresh water to eliminate dirt and chalking. For stubborn ingrained filth or mildew, a gentle cleaning agent or a chlorine-based solution may be utilized. Areas affected by fungal or algal colonies necessitate scrubbing with wire brushes and subsequent application of a specialized anti-fungal treatment. After this preparation, let the surface dry completely, usually for at least 24 hours before proceeding. A clean, spotless and moisture-free wall ensures maximum bonding of subsequent protective coatings.

3. Repairing cracks and surface defects
After ensuring the surface is clean and dry, inspect again for cracks, holes or damaged plaster. This phase is about mending imperfections so the final finish looks smooth and uniform. Hairline cracks are best addressed using high-quality crack fillers or acrylic sealants. Wider fissures or significantly damaged areas may call for re-plastering using polymer-modified mortars for better adhesion, flexibility and durability. Post repairs, let the patched sections cure according to the product guidelines. Ignoring proper repair results in peeling and uneven absorption of paint, eventually bringing down both lifespan and visual appeal of the finish.

4. Sanding and smoothing the surface
Sanding is necessary and helps create a smooth and uniform surface while removing minor undulations or rough patches. Start by cleaning the area thoroughly using a suitable solvent to eliminate dirt and grime. Next, use medium to fine-grit sandpaper depending on the surface condition, to smooth rough spots and minor imperfections for uniform results. After sanding, wipe off all the remaining dust and debris with a clean, dry cloth or soft brush. Make sure to remove all loose particles, as they can interfere with primer adhesion. This thorough preparation may seem simple, but it plays a critical role in achieving a superlative final appearance and a professional-grade finish once the paint is applied.

5. Applying a quality primer coat
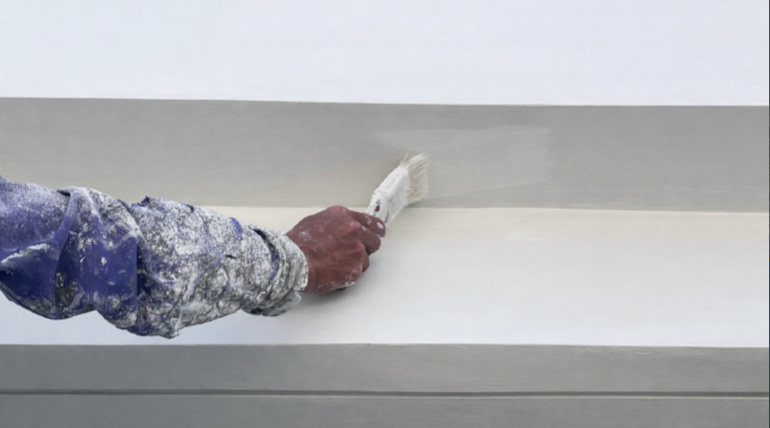
A high-quality primer serves as a robust base, bridging the gap between an exterior surface and the topcoat, which is vital for strong paint adhesion, uniform absorption, and extended durability. To achieve a brilliant and lasting finish, it is necessary to choose an exterior-grade primer specifically formulated for the substrate, be it cement, wood, or concrete. Applying a single, even coat, typically with a brush or roller, which seals porous surfaces should be allowed to dry completely, usually for 6-8 hours or as directed by the manufacturer. This preparatory step, though an unsung hero, greatly enhances paint coverage and colour vibrancy, creating an even base that enhances the depth of the chosen colour and brings about a flawless, beautiful visual appeal.
6. Optimal timing and paint selection for exterior house painting
To ensure a durable and professional finish, the ideal time to paint a house exterior is during dry, mild, and calm weather, avoiding extreme heat, cold, or rain, and high humidity. This allows the paint to cure properly, preventing future issues like peeling or cracking. When choosing a paint, select long-lasting exterior formulas that offer UV resistance, waterproof binders, and crack-resistant elasticity for maximum protection and longevity against the elements.
Sealing And Protecting Your Home’s Exterior
Check your home’s exterior surfaces for signs of damage like cracks, dents, or damaged wood, and fix these issues promptly. Monitor very closely all exterior gaps and openings, including the spaces around window frames, where different wall materials meet, and other holes. Properly seal these sections with sealant to prevent air and water from seeping into the house and causing interior damage.