A fresh coat of paint can breathe new life into any space. However, achieving a professional and long-lasting finish is not just about choosing the right colour or applying it like an expert. So, what’s the secret to smooth and durable paint? The answer lies in meticulous wall preparation, and at the heart of this process is the often-underestimated hero: wall putty.
Skipping or skimping on wall preparation is a common mistake that can lead to various problems, including uneven colour distribution, visible imperfections, poor paint adhesion, and a time-consuming paint job. Understanding the role of wall putty will help you prepare your walls for the perfect painting experience. Let’s explore how.
The Importance of Proper Wall Preparation
Think of painting like building a house, you wouldn’t start building walls without a strong foundation, right? Similarly, your wall surface is the foundation for your paint job. Any existing flaws, dirt, or inconsistencies will become more noticeable once painted.
Here’s why proper wall preparation is essential:
- Ensures Smoothness: Cracks, holes, and rough textures will show through the paint, creating an untidy and unprofessional finish. Proper preparation—including wall putty—creates a smooth, uniform surface.
- Promotes Better Paint Adhesion: A clean, stable, and slightly porous surface helps paint stick properly. Dust, grease, and loose particles interfere with adhesion, leading to peeling, flaking, and blistering.
- Enhances Colour Uniformity: A properly prepared surface ensures even paint absorption, making the colour appear consistent and vibrant.
- Increases Paint Longevity: A solid base helps your paint withstand wear, moisture, and environmental damage—extending the life of the paint.
- Reduces Paint Consumption: Smooth surfaces require less paint for full coverage compared to uneven ones.

Wall Putty: The Key to a Flawless Finish
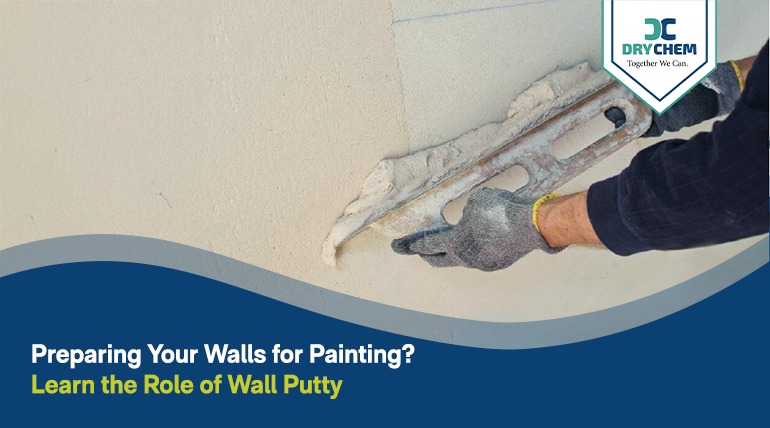
Wall putty is a fine powder mixed with water to form a smooth, paste-like consistency. Its primary role is to create an even, smooth, and uniform surface ideal for painting.
Here’s How Wall Putty Contributes to a Better Paint Job:
- Fills Imperfections: It fills minor cracks, nail holes, dents, and surface irregularities, creating a seamless base.
- Levels Uneven Surfaces: It helps correct slightly uneven plaster or textured areas.
- Creates a Smooth Base: It covers microscopic pores and surface variations for a more refined finish.
- Improves Paint Adhesion: Its slightly porous texture helps paint stick better, reducing the chances of peeling.
- Enhances Final Appearance: It provides a flawless surface that lets the true colour and finish of the paint shine through.
Types of Wall Putty
Different types of wall putty serve different purposes:
- Cement-Based Putty: Ideal for both interiors and exteriors; strong and water-resistant.
- Acrylic Putty: This putty comes ready to use in a paste form. It’s generally recommended for interior walls, particularly those made of wood or metal.
Tip: Consider the wall surface (plaster, drywall, concrete), the location (interior/exterior), and the extent of imperfections when selecting putty.
Choosing the Right Putty:
Here are some key factors to consider when selecting your wall putty:
- Surface Type: Cement-based putty is ideal for concrete, plastered walls, and aerated blocks. opt for acrylic putty for wood or metal surfaces.
- Level of Imperfection: Coarse putty tackles major unevenness, while normal putty works well for minor flaws.
- Painting Plans: If you plan to paint, choose a non-coloured putty. For a finished look without painting, consider coloured putty.
- Durability Requirements: Premium putty offers superior resistance to moisture and wear and tear, ideal for high-traffic areas.
Checklist: Preparing Walls Before Painting
Phase 1: Cleaning and Inspection
- Remove wall hangings, curtains, and removable fixtures.
- Clean the walls using a damp sponge or cloth to remove dust, grease, and cobwebs. Use mild detergent for greasy areas, then rinse and let dry.
- Inspect for cracks, holes, mildew, stains, or loose plaster and mark them for repair.

Phase 2: Repairing Imperfections
- Scrape off loose paint/plaster with a putty knife.
- Fill small holes/cracks with wall putty using a putty knife. Smooth it out and let it dry as per instructions.
- Repair larger holes with a patching compound; apply in layers and sand between coats.
- Hammer in protruding nails and fill with putty.
Phase 3: Applying Wall Putty
- Mix putty with clean water as per the manufacturer’s instructions until smooth.
- Apply a thin, even coat using a putty knife or trowel.
- Smooth the surface.
- Allow the putty to dry completely.

Phase 4: Sanding and Final Preparation
- Sand dried putty with fine-grit sandpaper (180–220 grit) until smooth and even.
- Wipe off all dust with a clean cloth or vacuum.
- Apply a primer (recommended) to seal the surface and ensure even paint application.
Phase 5: Painting
- Once the primer is dry, proceed with painting. A well-prepared wall ensures a beautiful, smooth, and long-lasting finish.

Conclusion
Preparing your walls for painting is as crucial as prepping a pitch for a cricket match. With wall putty playing a central role, proper preparation saves time, effort, and future expenses. Use this guide to achieve walls that are smooth, durable, and paint-ready.
Time to welcome compliments—and guests—to your perfectly painted space!